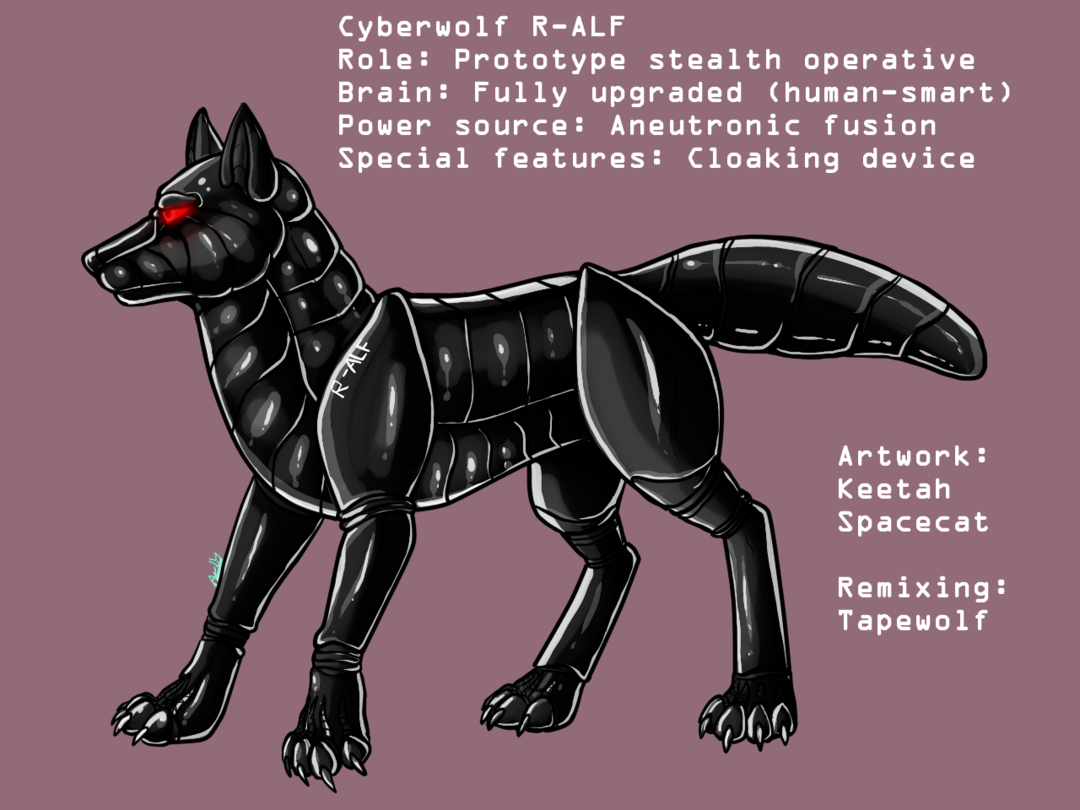
R-ALF
R-ALF was a character orginally created by Tapewolf, a robotic wolf quadruped.
After getting a 3D printer, I chatted with Tape asking if he had any thoughts on the sort of things I could make with it. Tape joked I could try to make a R-ALF costume, and was surprised when I said "yes." It soon became an official commission.
Making a solid helmet like this from printed parts had a lot of uncertainty that I had to work out. Thankfully Jess of Garuda Workshop answered many of the questions I had (both modelling and finishing), and Kaiborg Studios had some great tutorials on their website. It gave me guidance on how to move forward.
I started out by making a 3D model of R-ALF head, using references and Tape's feedback as a guide. I used Blender for this.
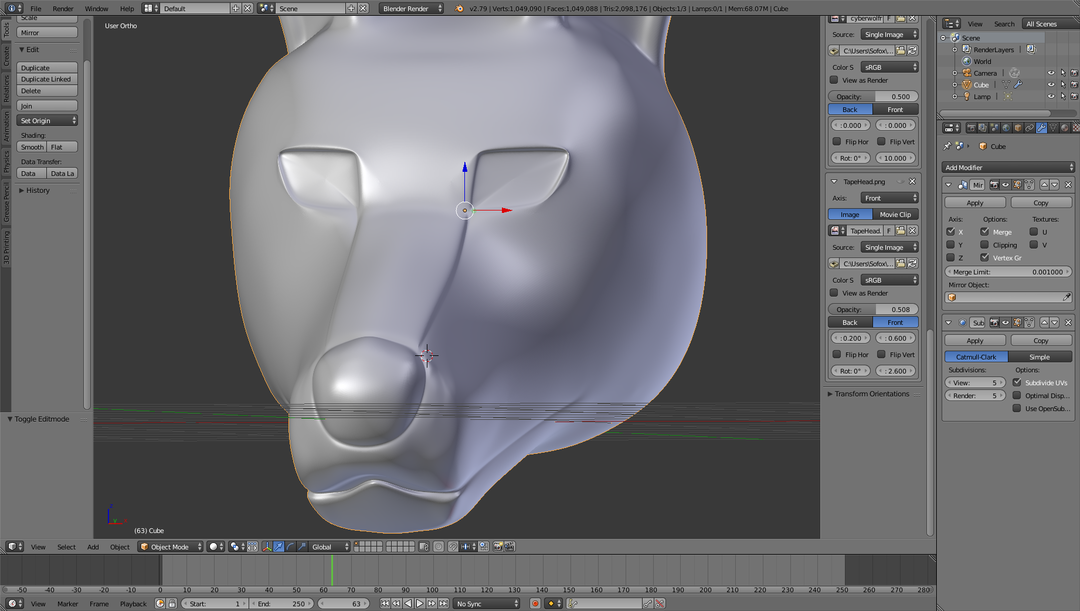
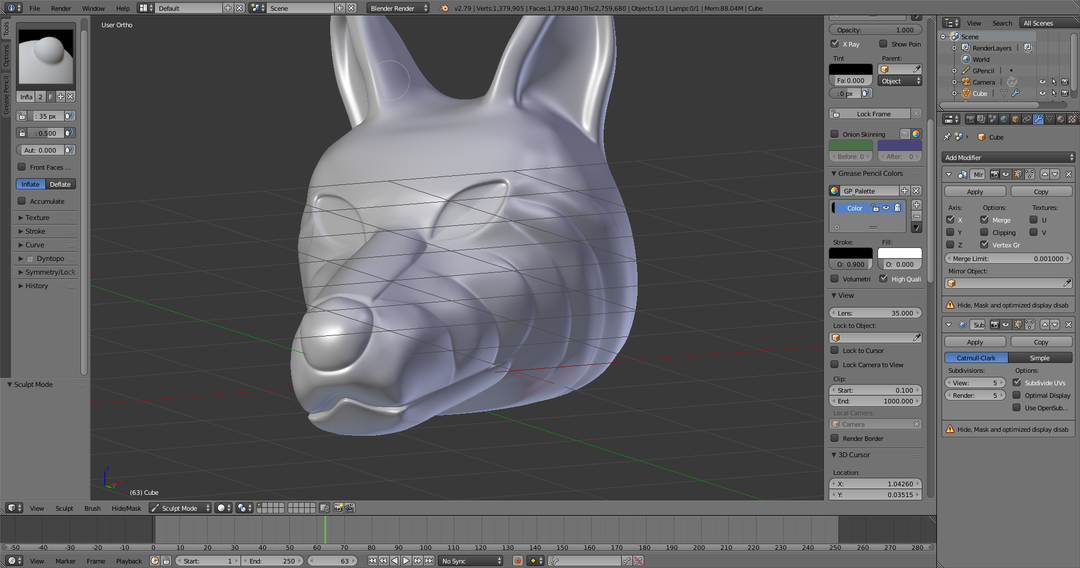
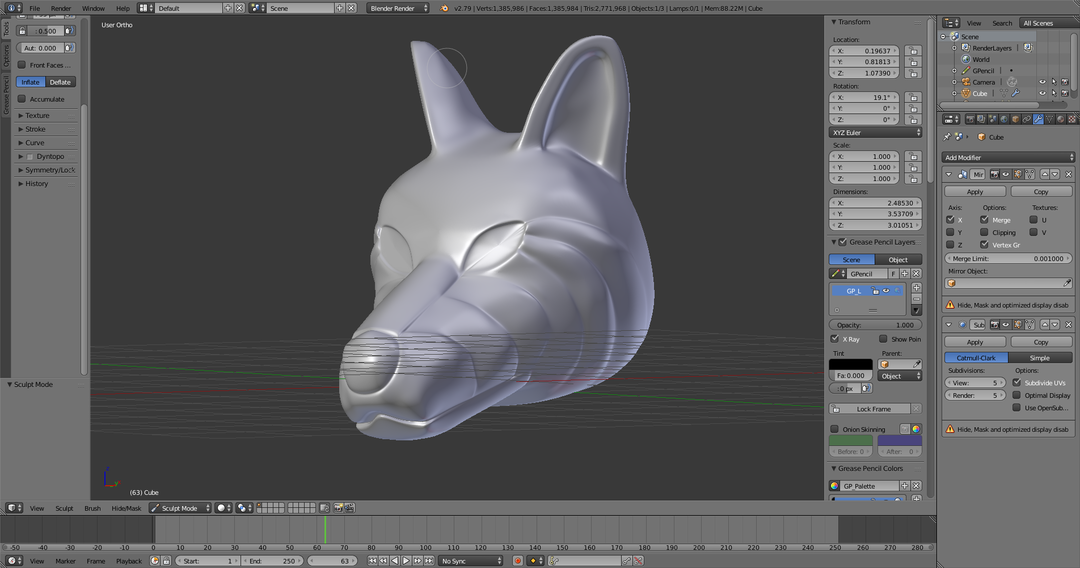
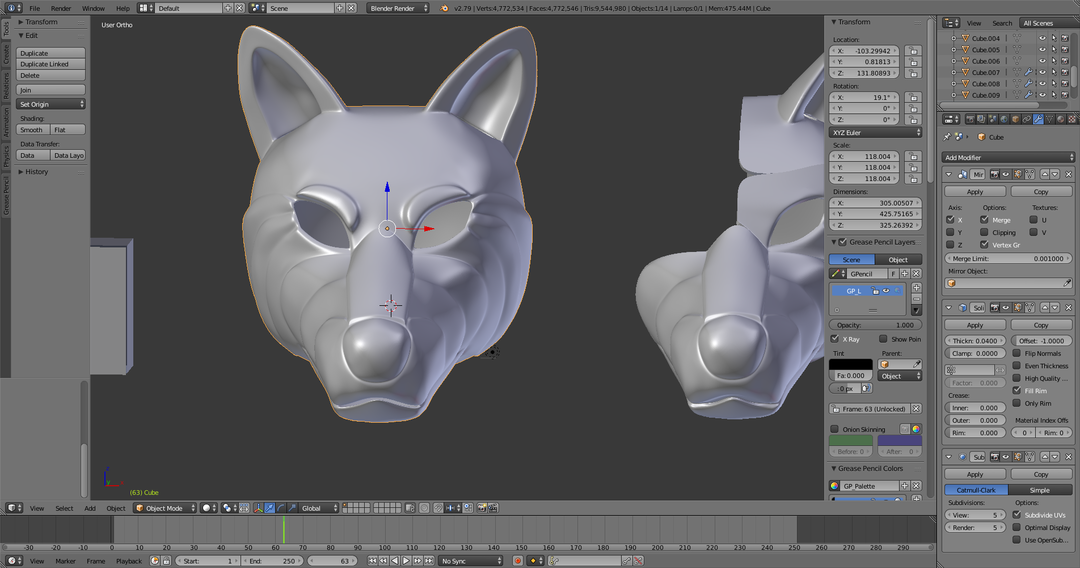
By measuring my own head (which is close enough's to Tape's in terms of size), and using a 3D model of a head I downloaded, I scaled the model so that it would be big enough to fit over a person's head.
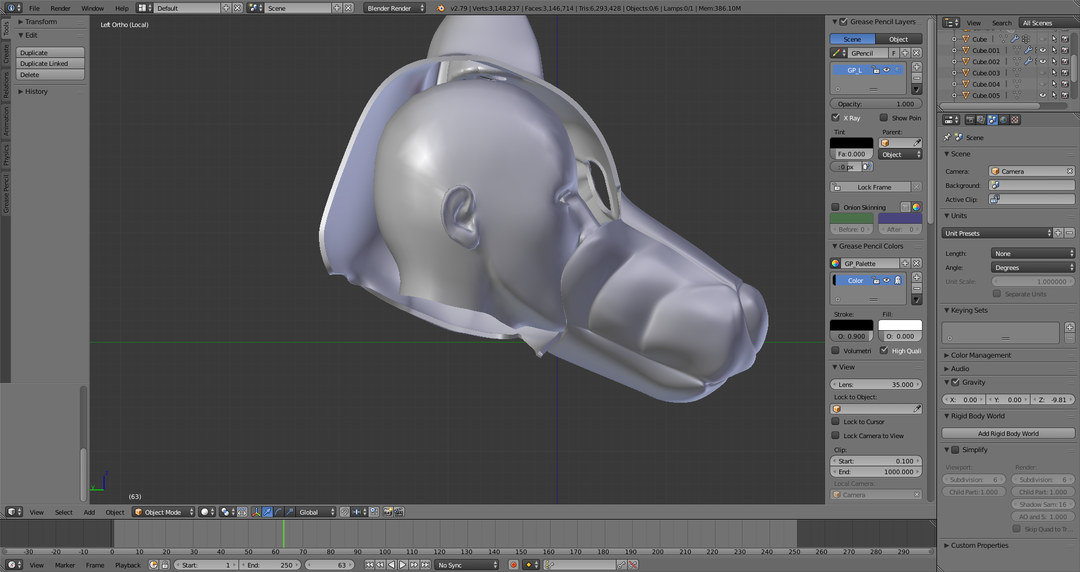
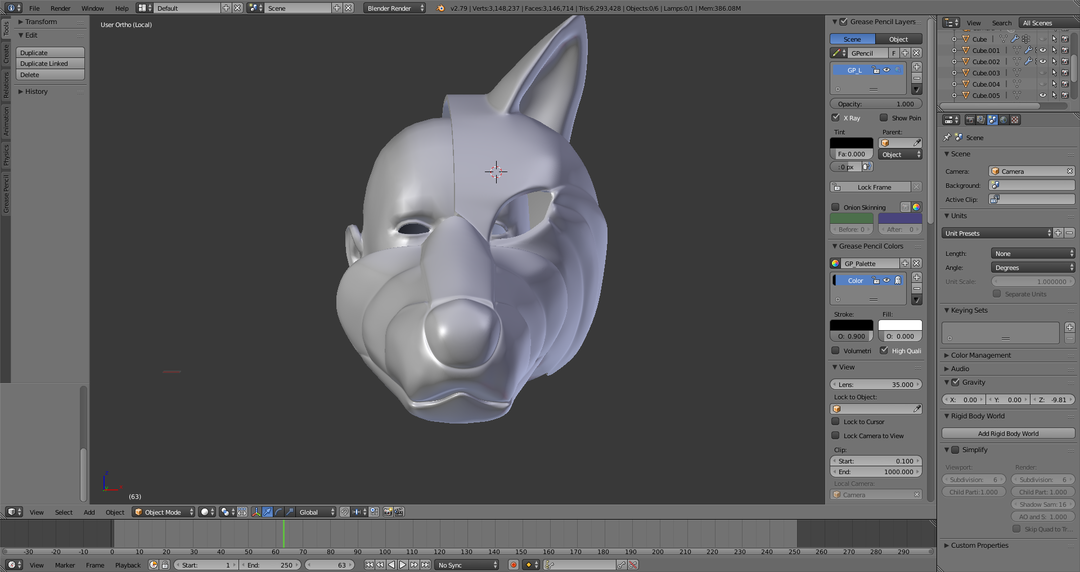
I 3D printed enough of the helmet to do a test to make sure the eyes were aligned and the scale was right.
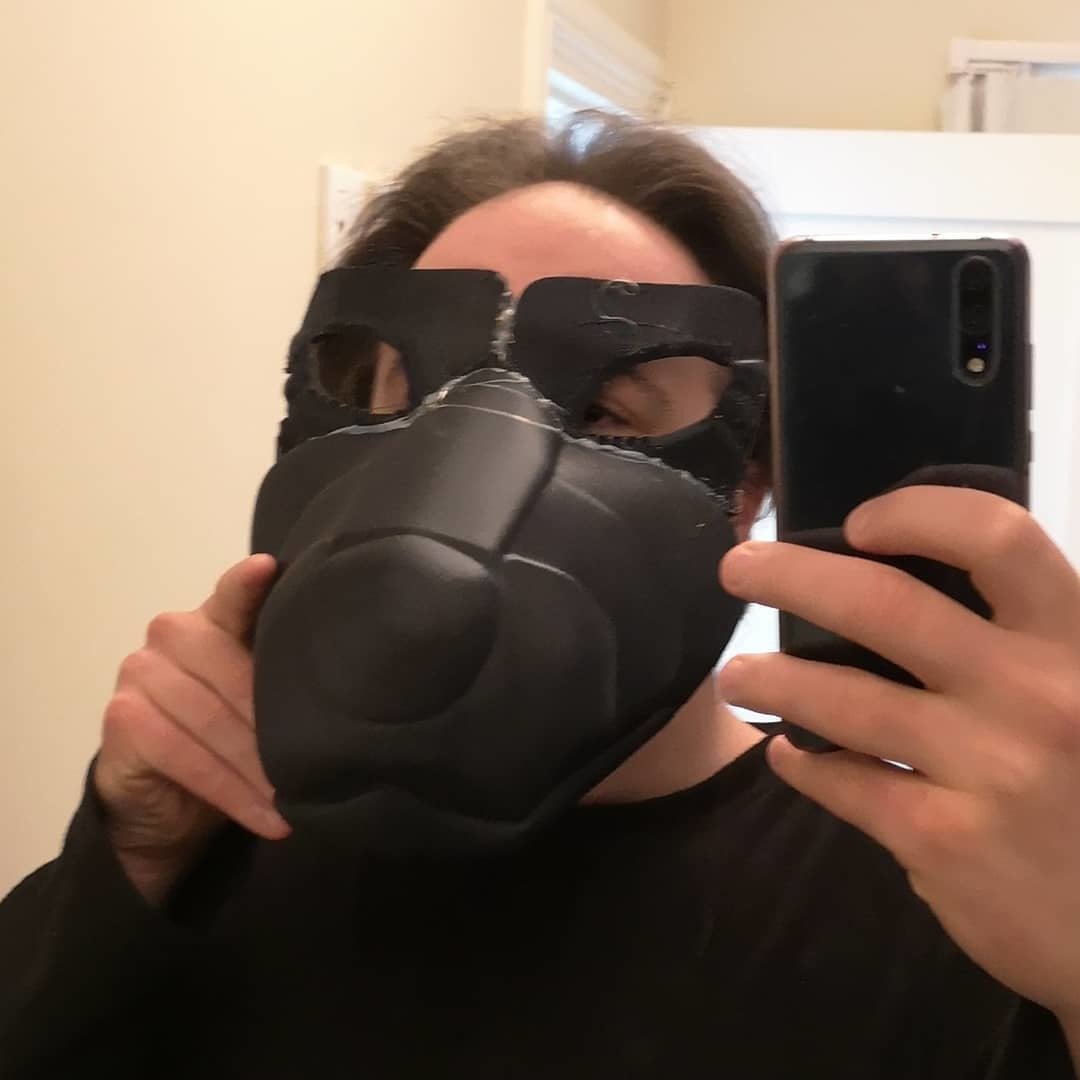
The test also had another benefit. While modelling the helmet, Tape had made some remarks about ventilation which I didn't take that seriously. Holding the muzzle up to my face made me quickly realise how hot it could get, with my breath quickly getting trapped in the muzzle. Lesson learned, the next version of the muzzle had three openings under the muzzle for ventilation.
This test print was also useful for experimenting with priming and spraypainting. For example, seeing how it looks with chrome spraypaint.
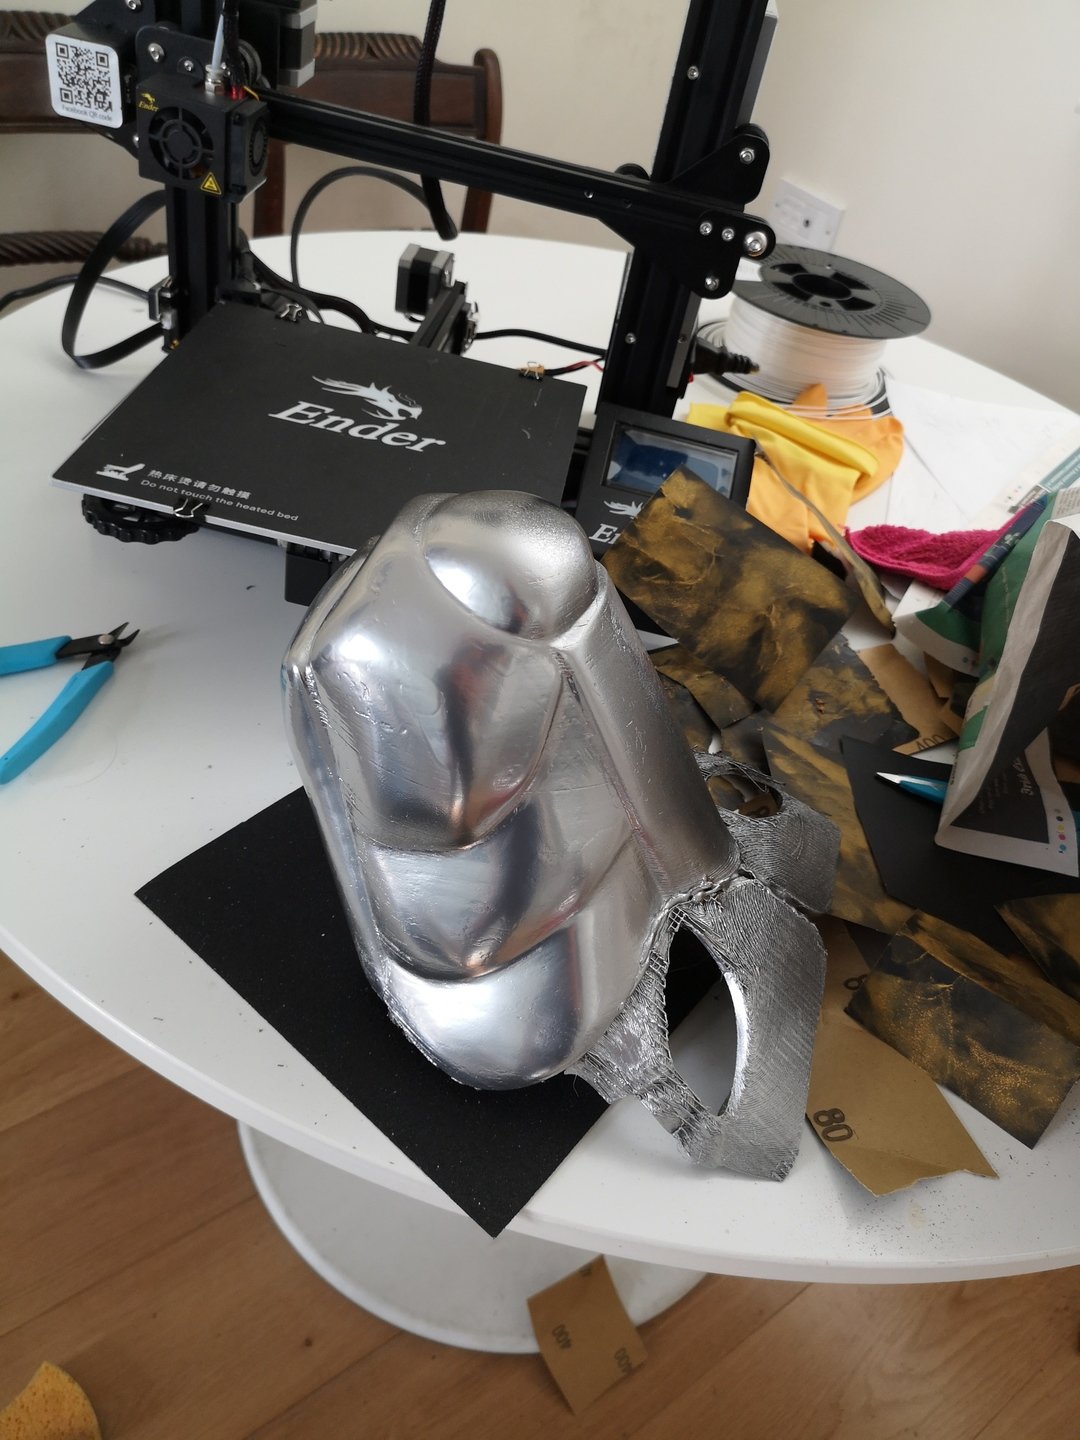
Since my 3D printer only has 220x220cm base, I had to split up the model so that it could be printed in chunks. I used a combination of boolean modifiers to block out the model. It was a bit tricky in parts, but I managed it.
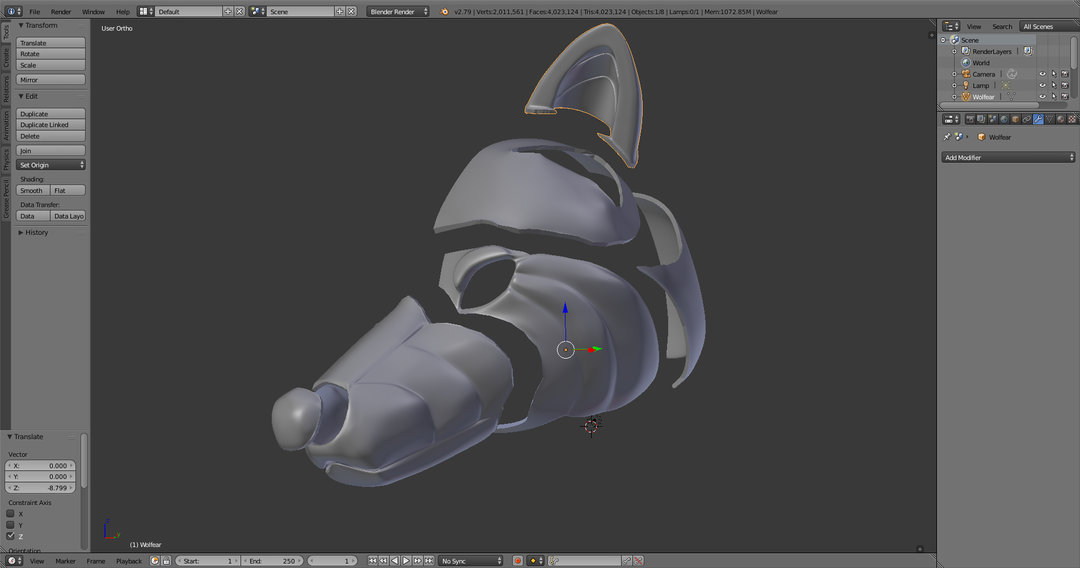
When I printed the pieces out, I discovered some issues. Firstly, I couldn't properly fit the ears into the head hole that were made for them. Also,the printer would have difficulty around the eyes because there were such narrow sections to them. Taking what I'd learned, I went back and split up the model again.
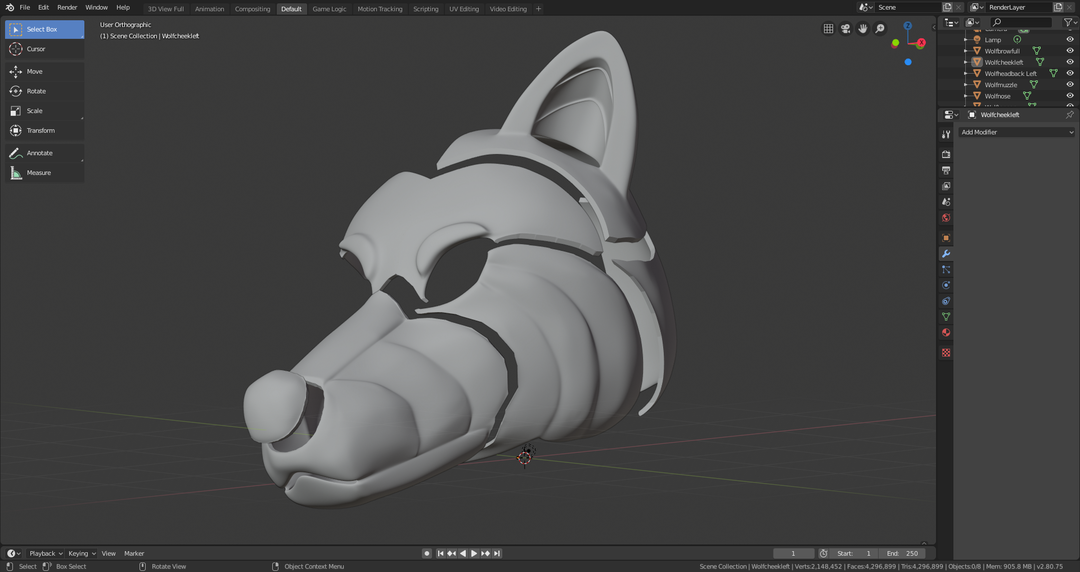
One of the changes I made was merging the pieces above the eyes. This reduced the amount of separate pieces needing to be printed, and helped ensure there wouldn't be a noticable seam straight down the middle of R-ALF's forehead.
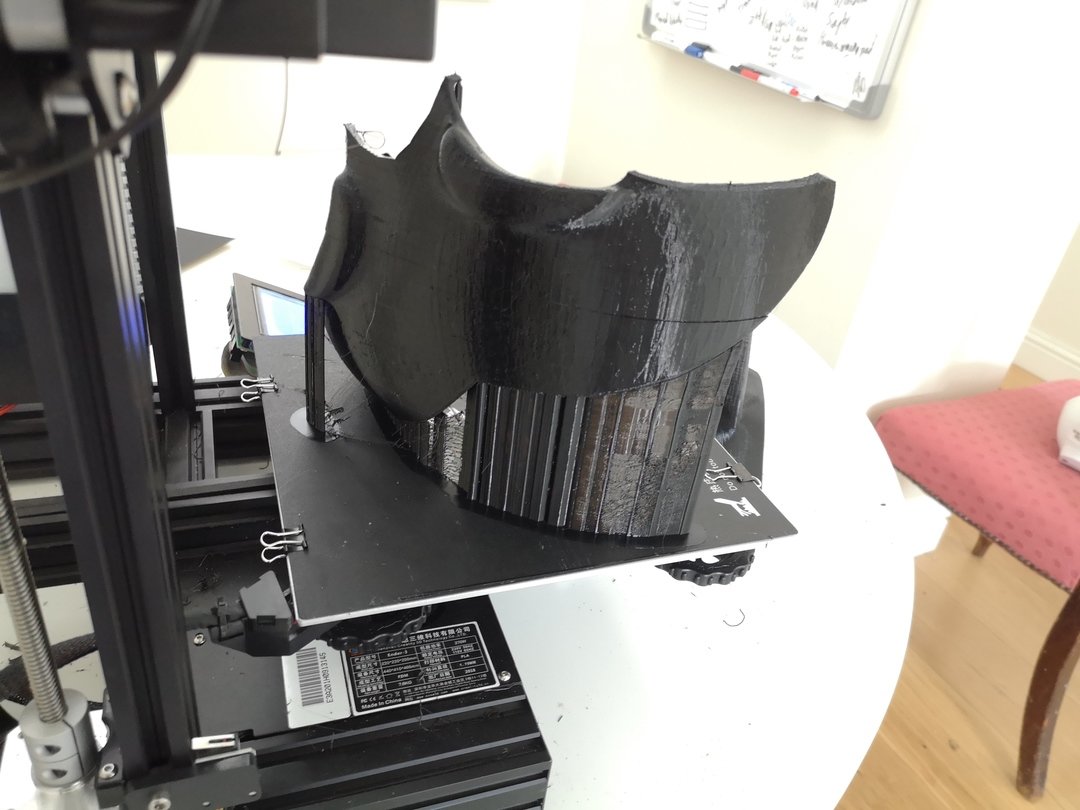
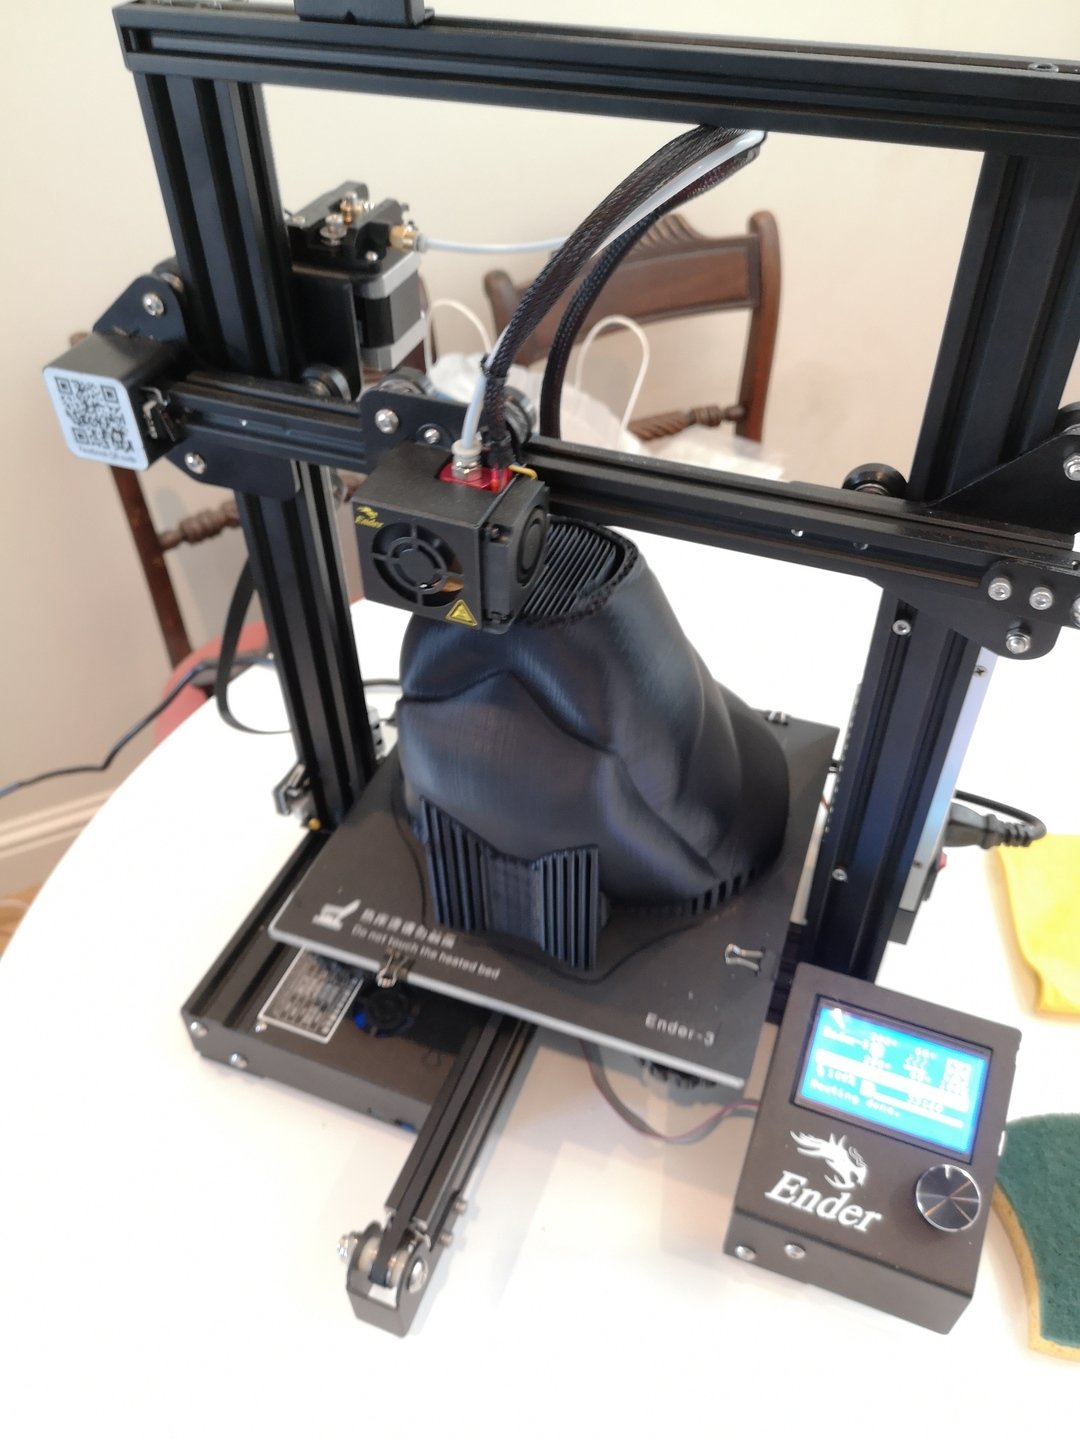
I started printing out the pieces on my Ender-3. Being new to printing in PET-G (recommended for costumes as being more robust), I had a bit of trial and error with getting the right nozzle heat settings.
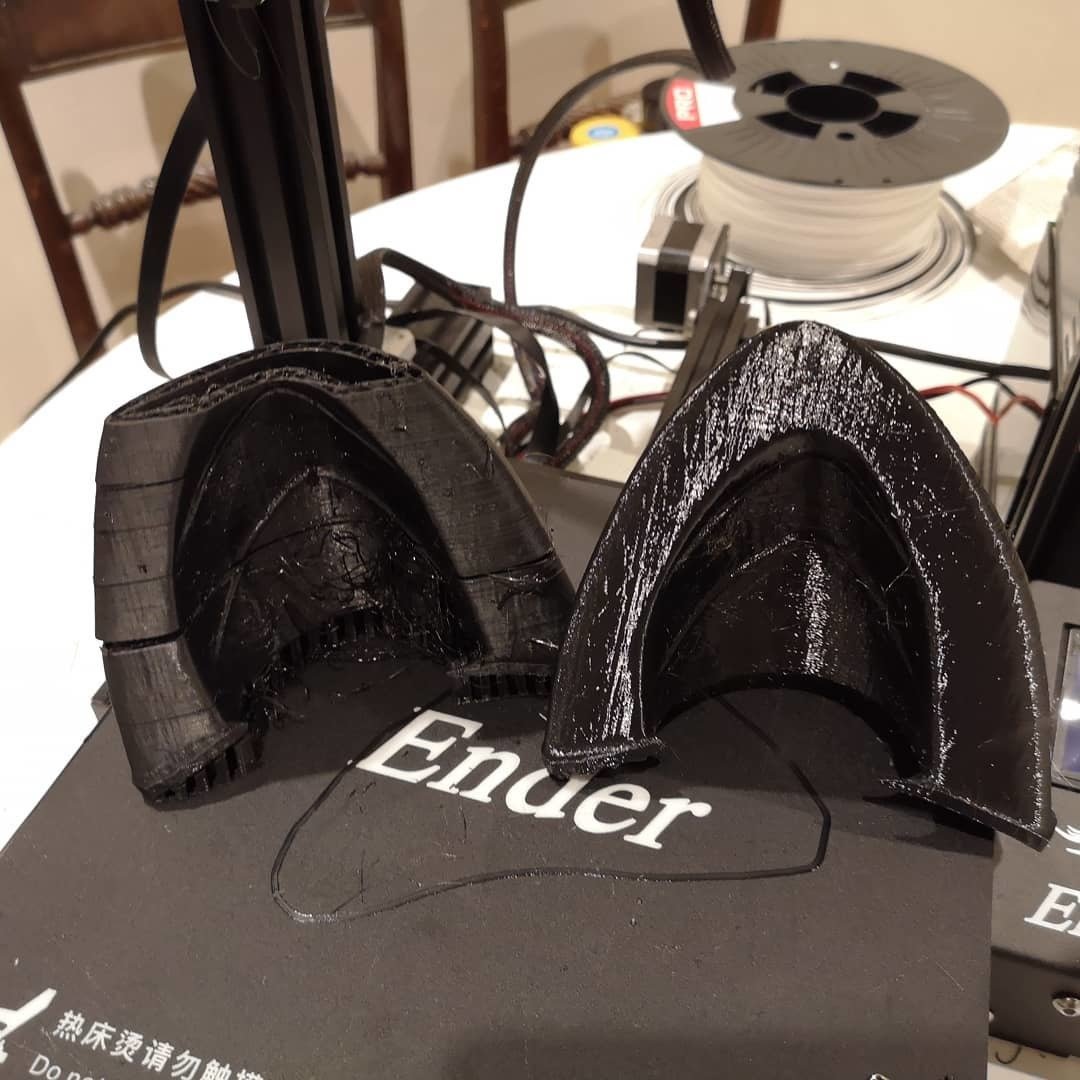
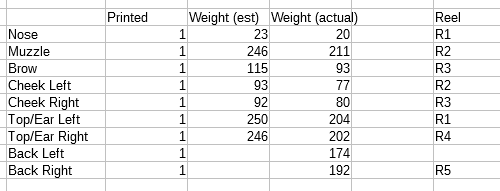
Also, since I only had a couple of 500g reels of PET-G and the pieces ranged from 120-250g, I had to do very careful management to ensure I could get the most pieces per reel that I could, and it wouldn't run out of filament mid print. I used CURA for converting the 3D models into a format the printer could use (gcode), and thankfully CURA gave pretty accurate estimates of how much material the piece would take up. Using that, I did spreadsheet calculations for this.
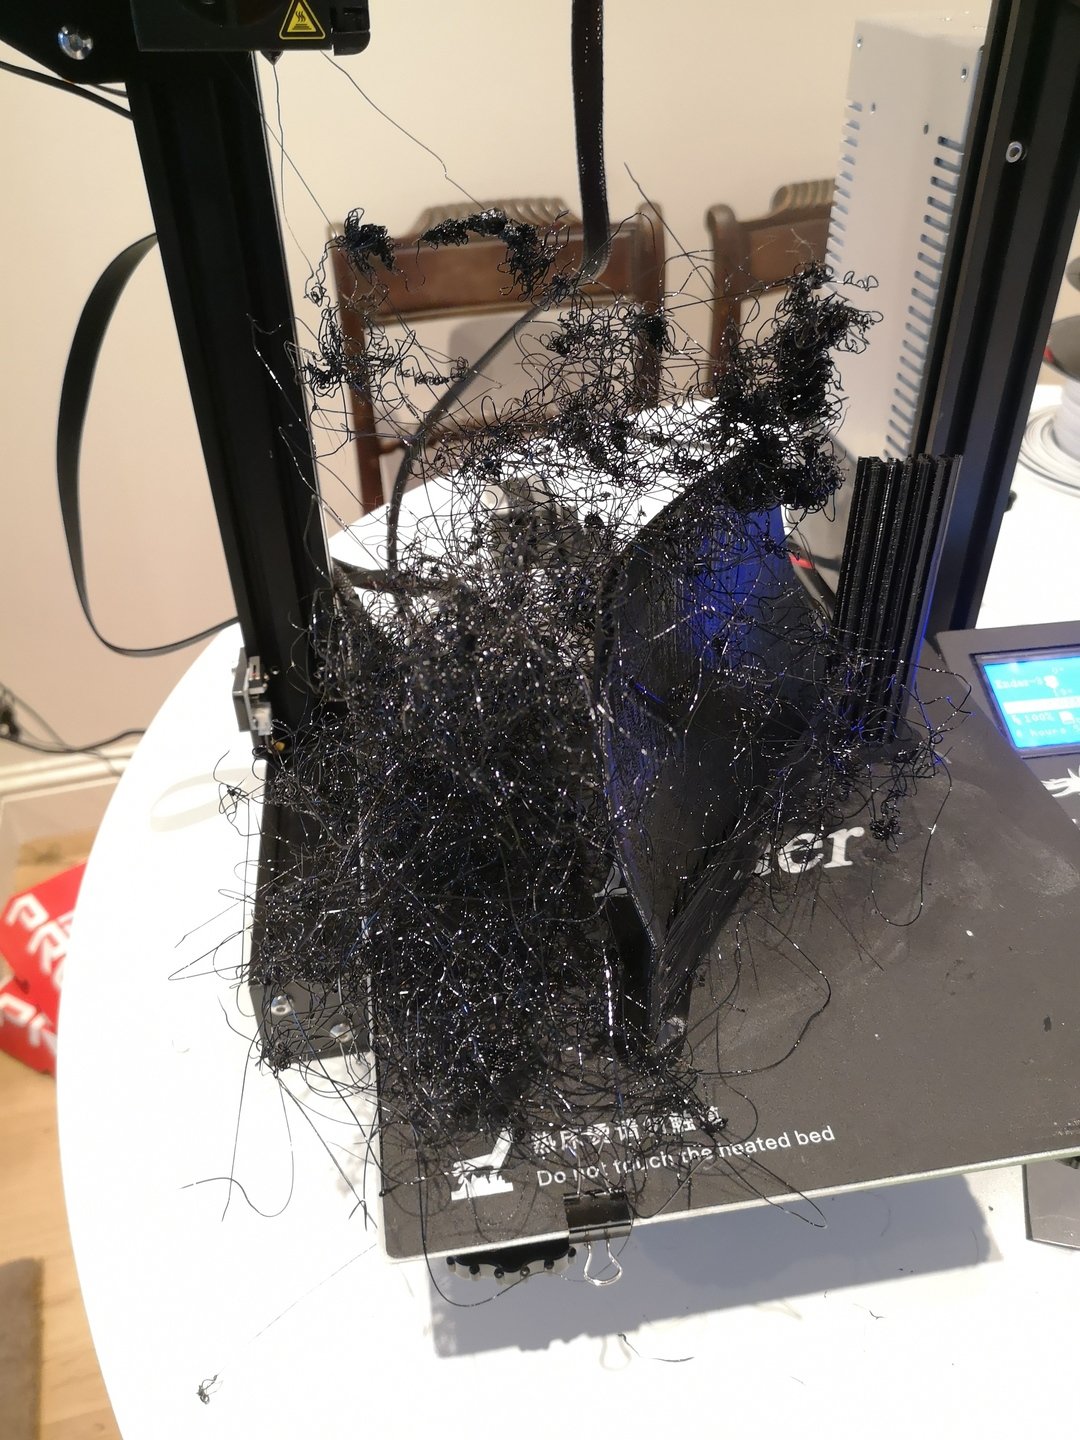
It could be stressful. At least one piece misprinted several times making me redo calculations.
I would often weigh reels repeatedly to be sure I had the right one and there was enough filament left. However, the effort ultimately paid off, the pieces got printed off and in at least one case I finished printing a piece with barely any filament left on the reel.
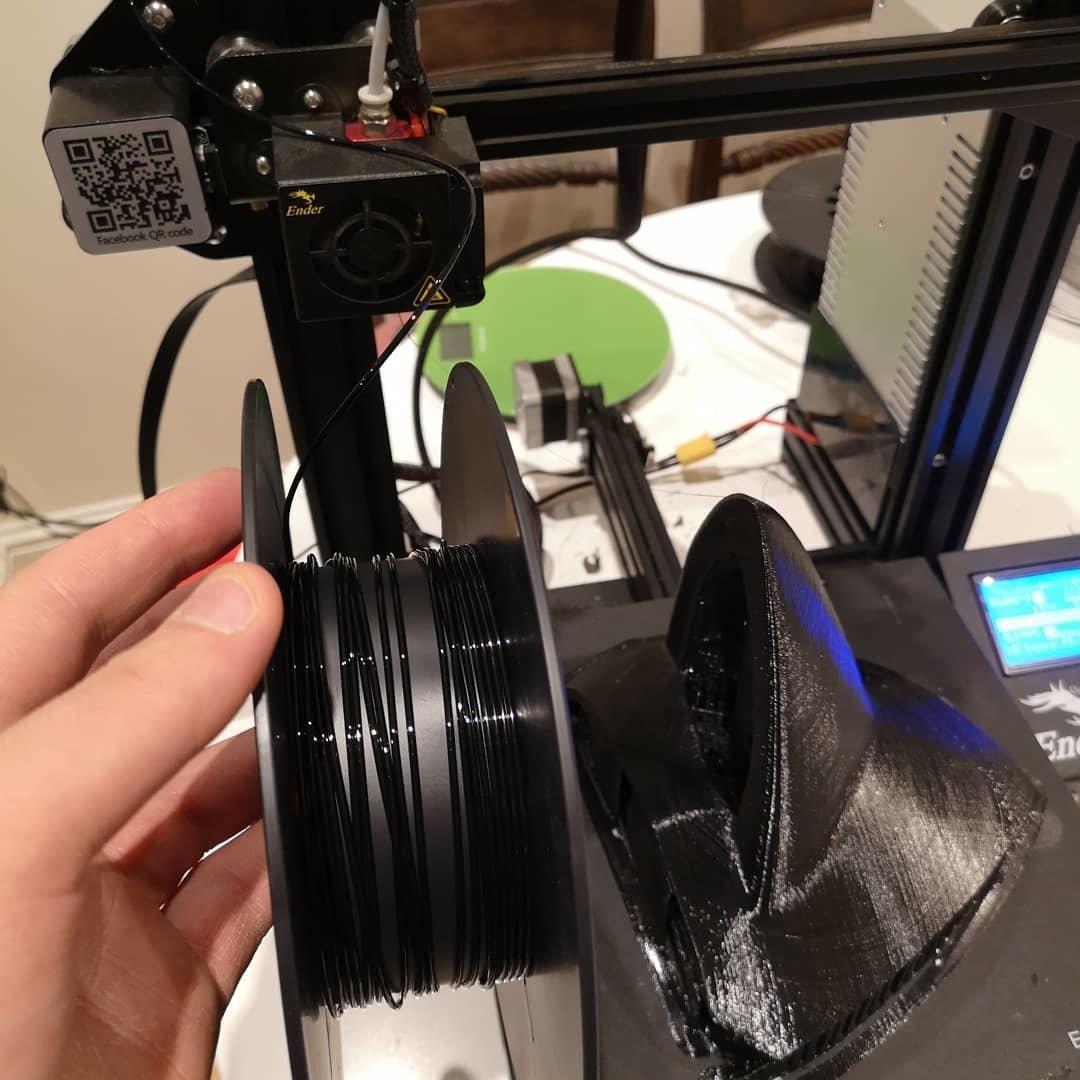
After this project was finished, I found a site selling 2.3kg reels of PETG. I would use them from then on, avoiding all this stress and drama.
Anyway, I finally had all the individual pieces and started sanding them. Nose was separate as Tapewolf was considering various alternatives for the nose. It had the advantage of cutting down on the printed support for the muzzle.
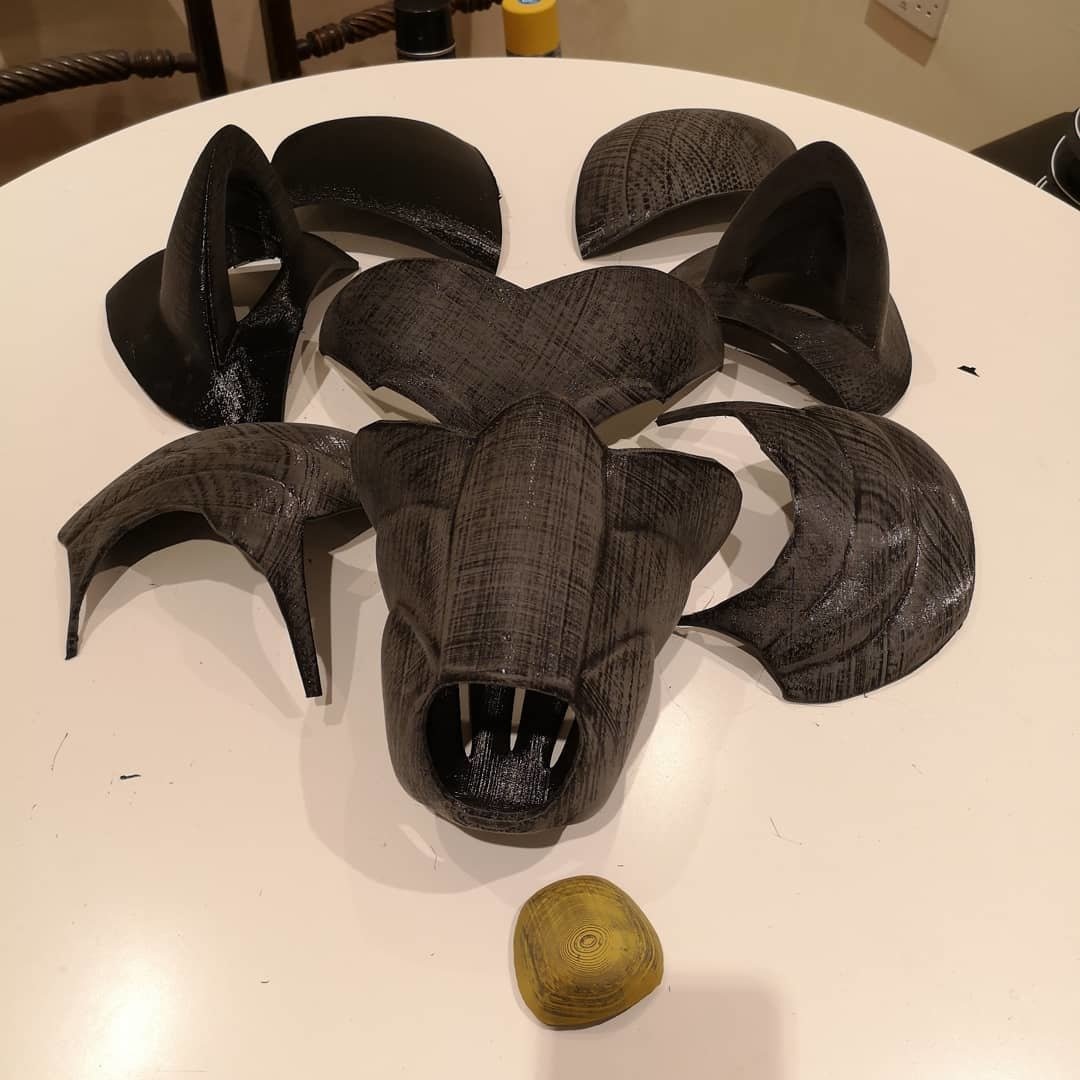
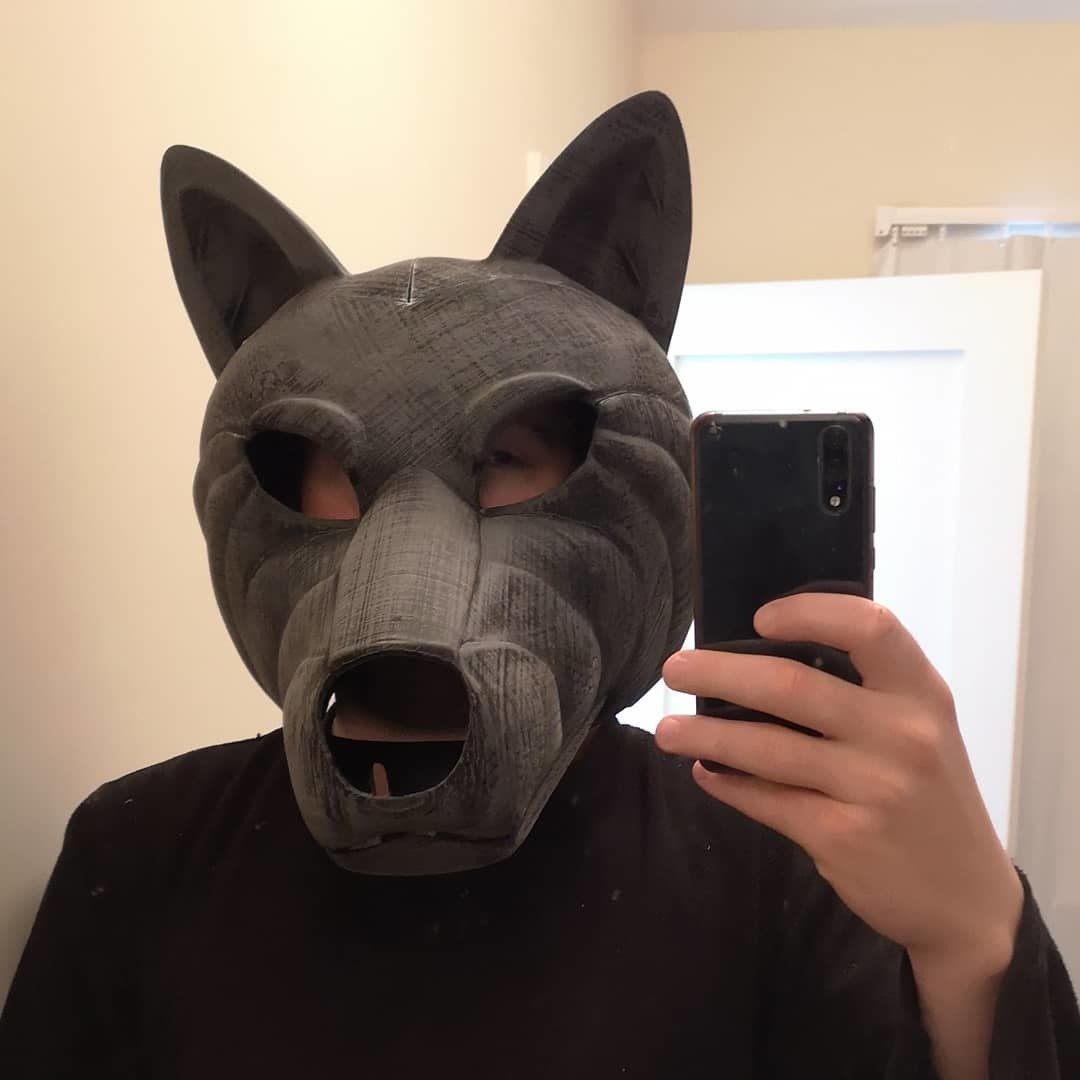
I used CA glue to put the pieces together, and confirmed it could actually work as a real helmet by wearing it.
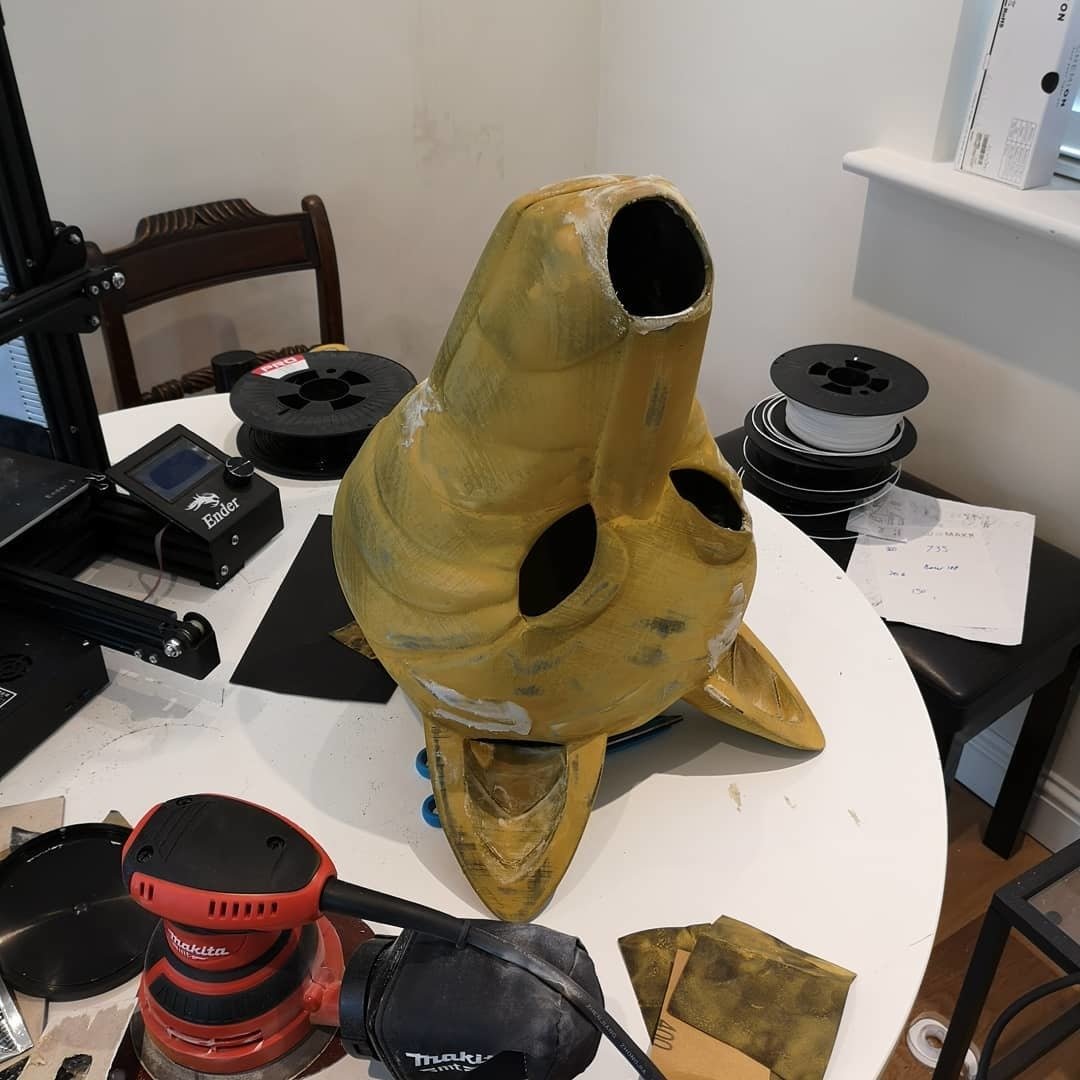
Time to cover up the joins with car body filler.
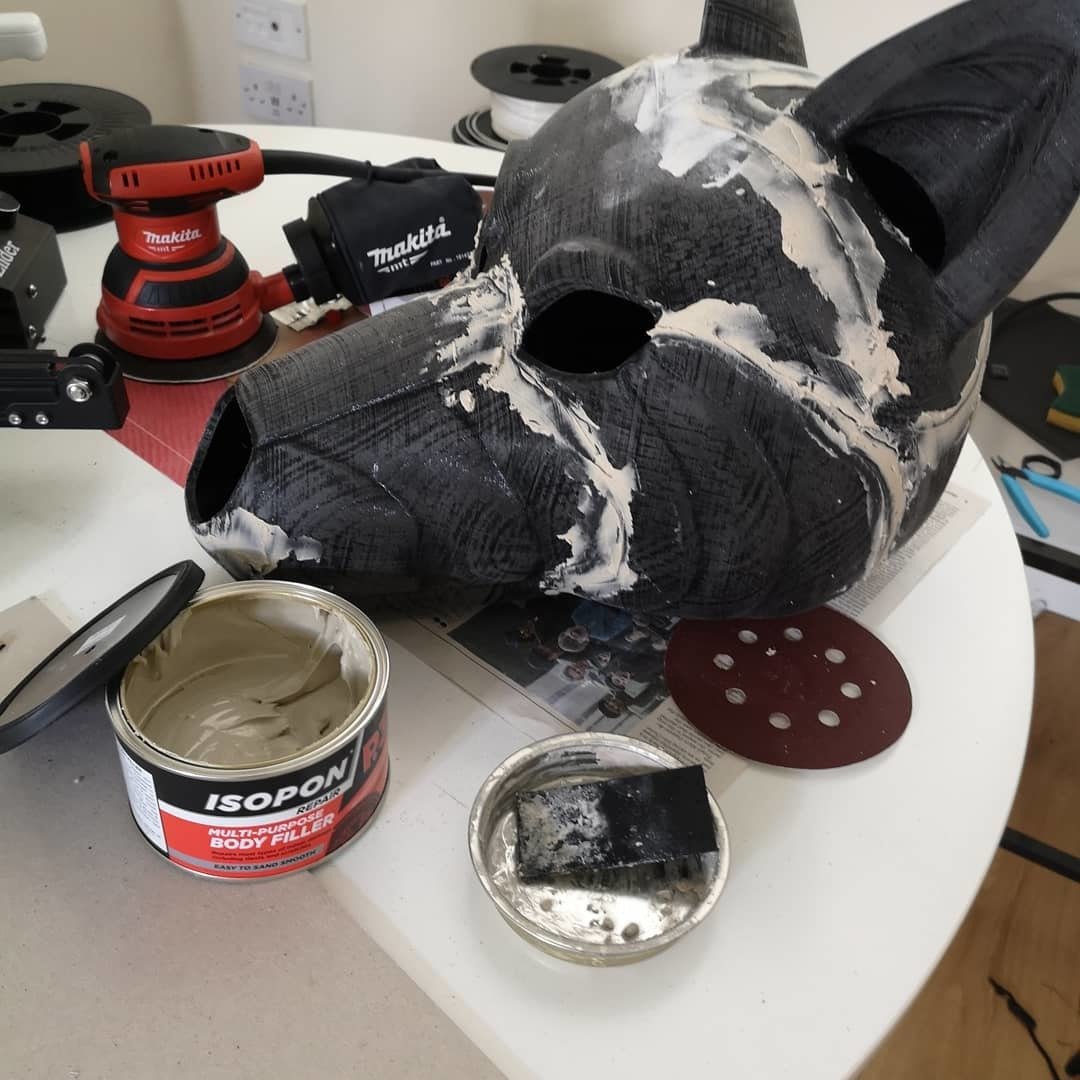
The next stage was sanding, spraying filler-primer, sanding, spraying the filler-primer again, and repeating. Jess gave me the advice that this is a process you have to repeat, and you should start with rough sandpaper and gradually get finer and finer pieces to get a smooth finish.
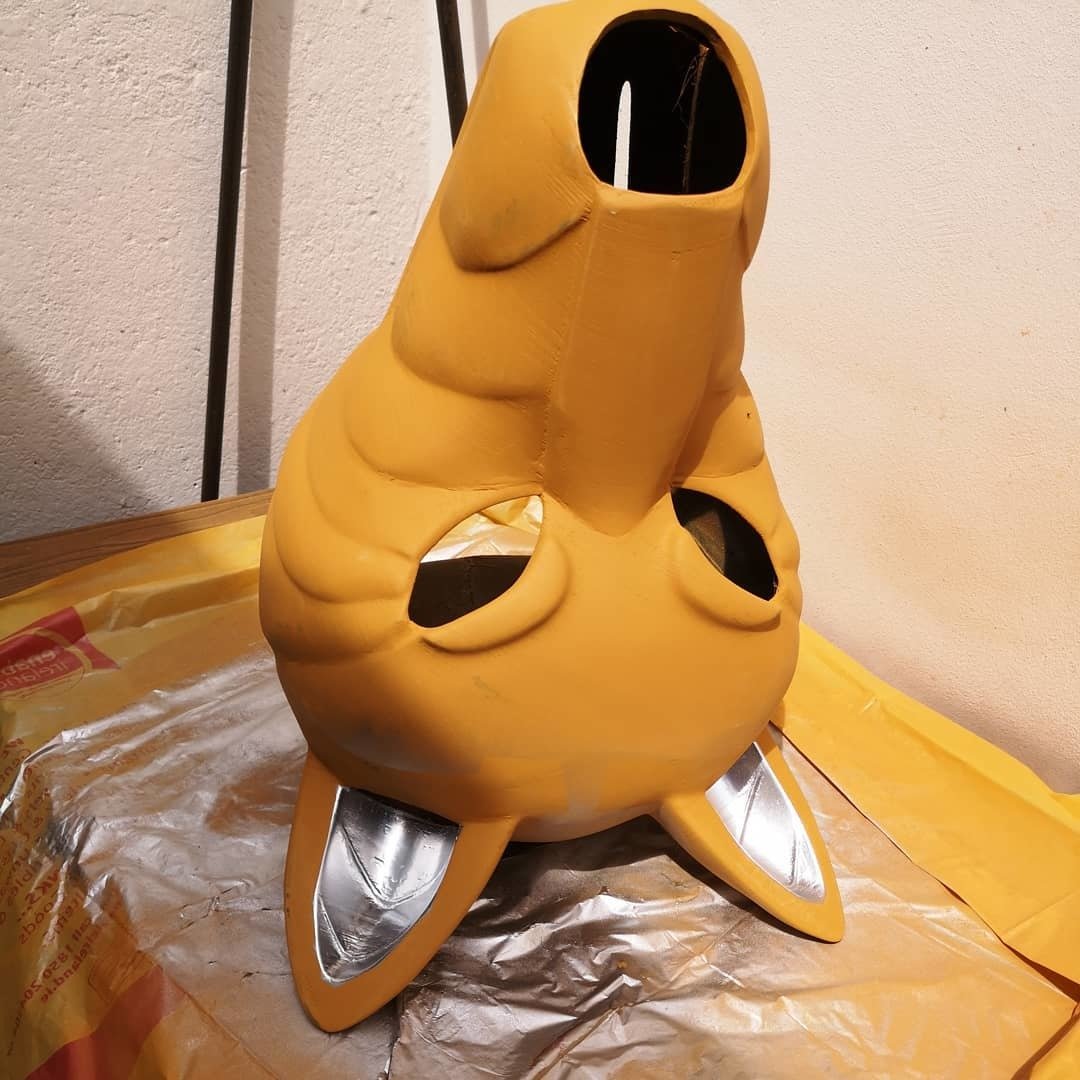
With another layer of primer, I apply masking tape and spraypainted silver for the inside of the ears. Jess gave me the advice that with spraypaining multiple colours, start with the lightest colours first.
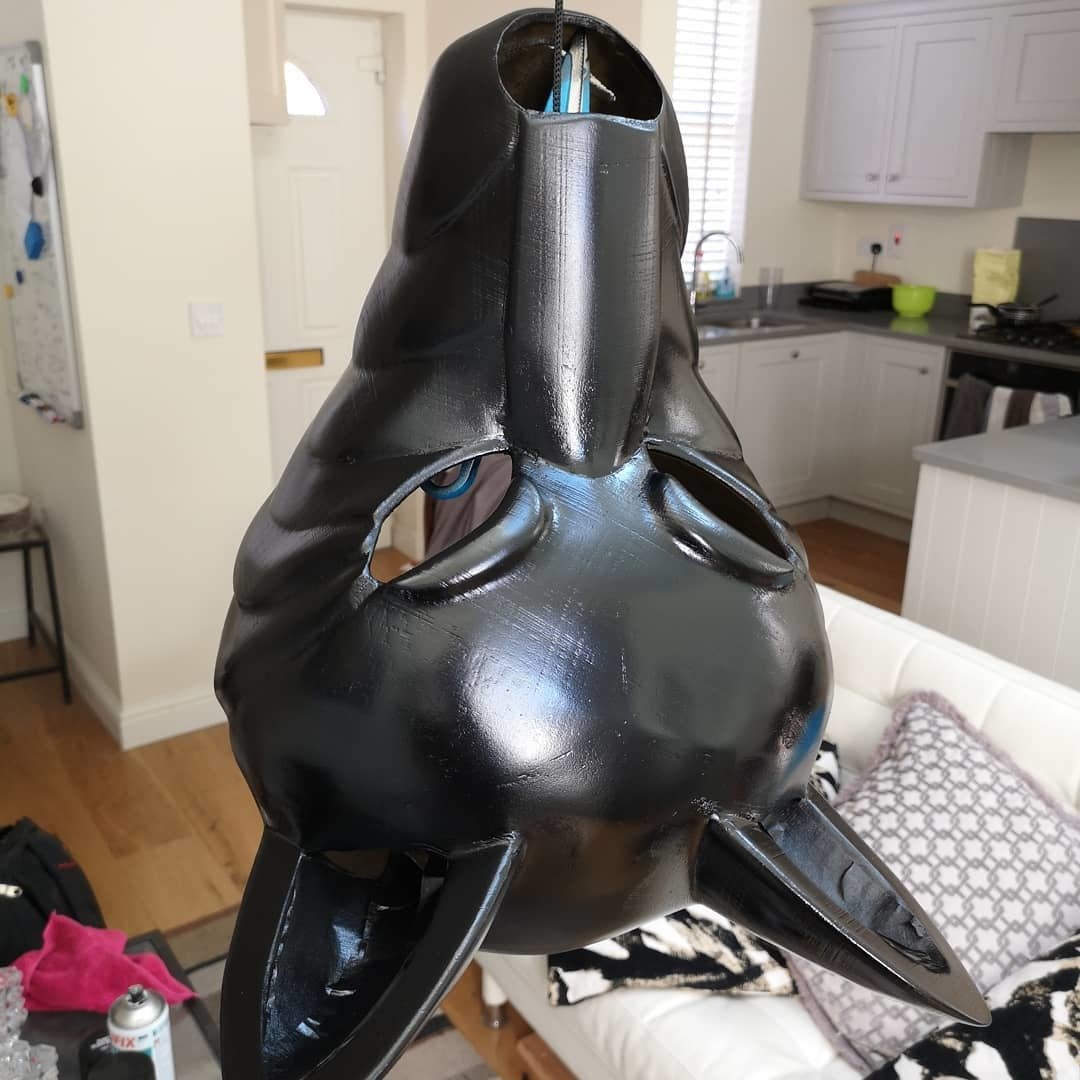
Then I cover that part with more masking tape, and spraypaint black gloss the rest of the helmet, ultimately hanging it up inside suspended from a rope to dry.
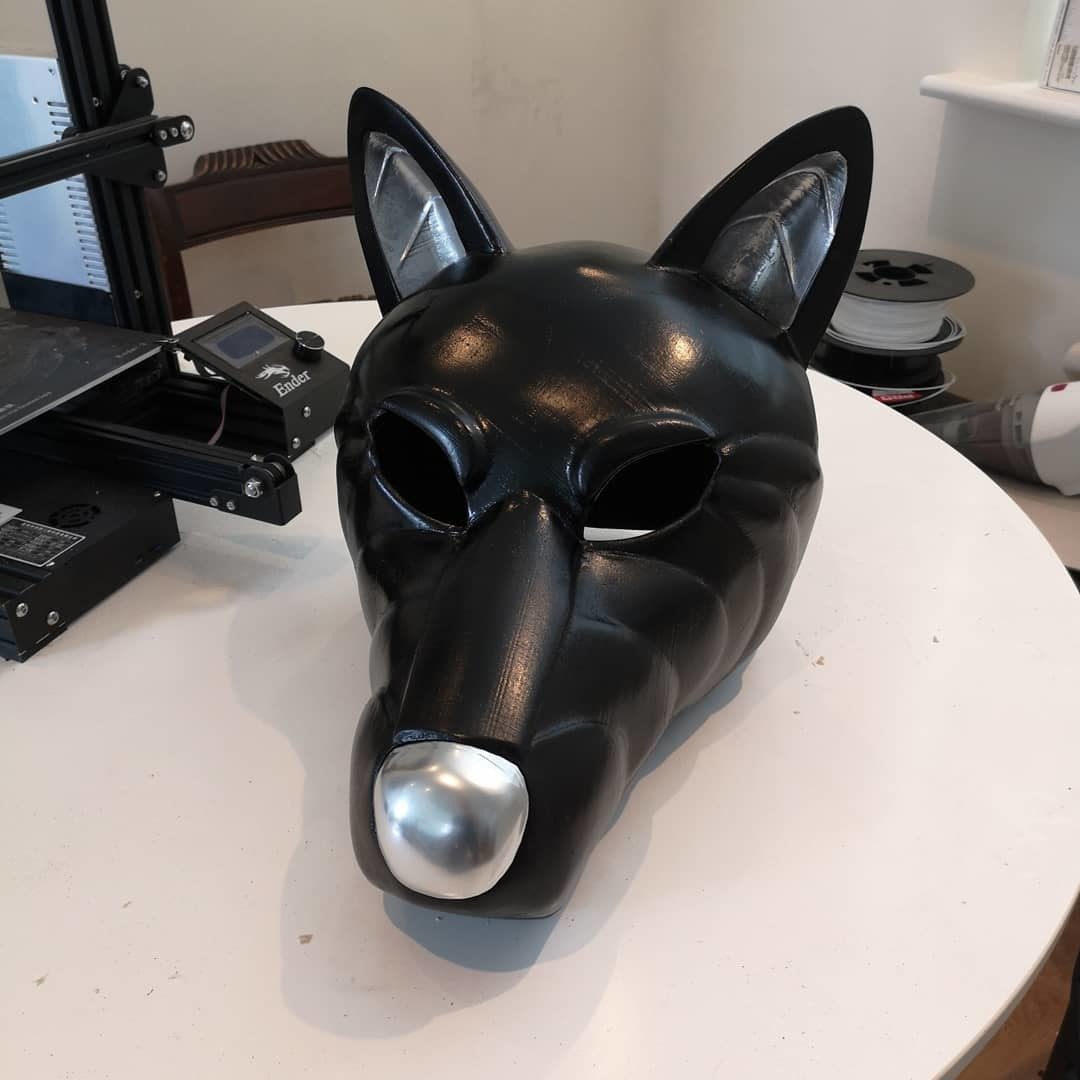
With that (and with spraying the nose part too), the helmet is more or less done for my part!
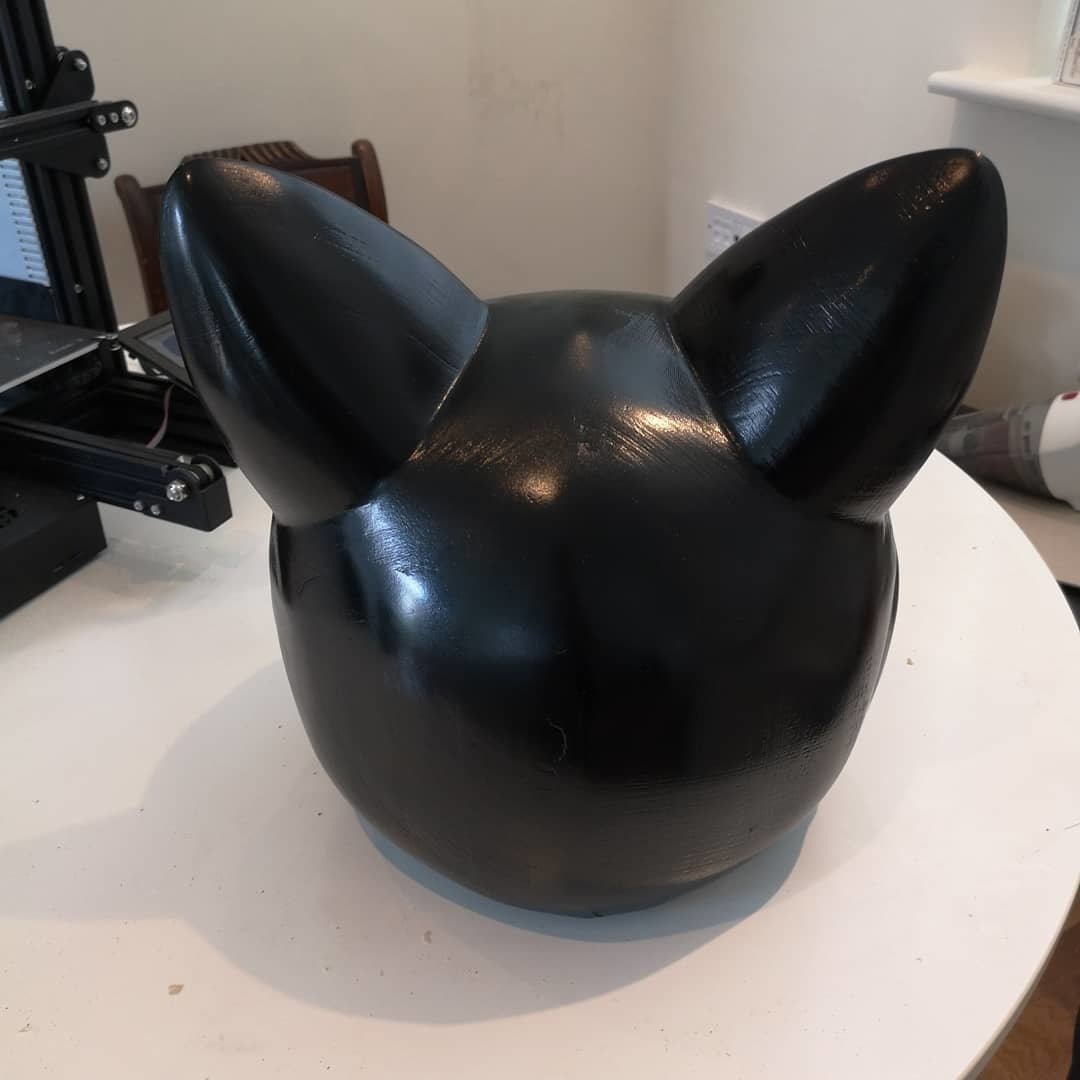
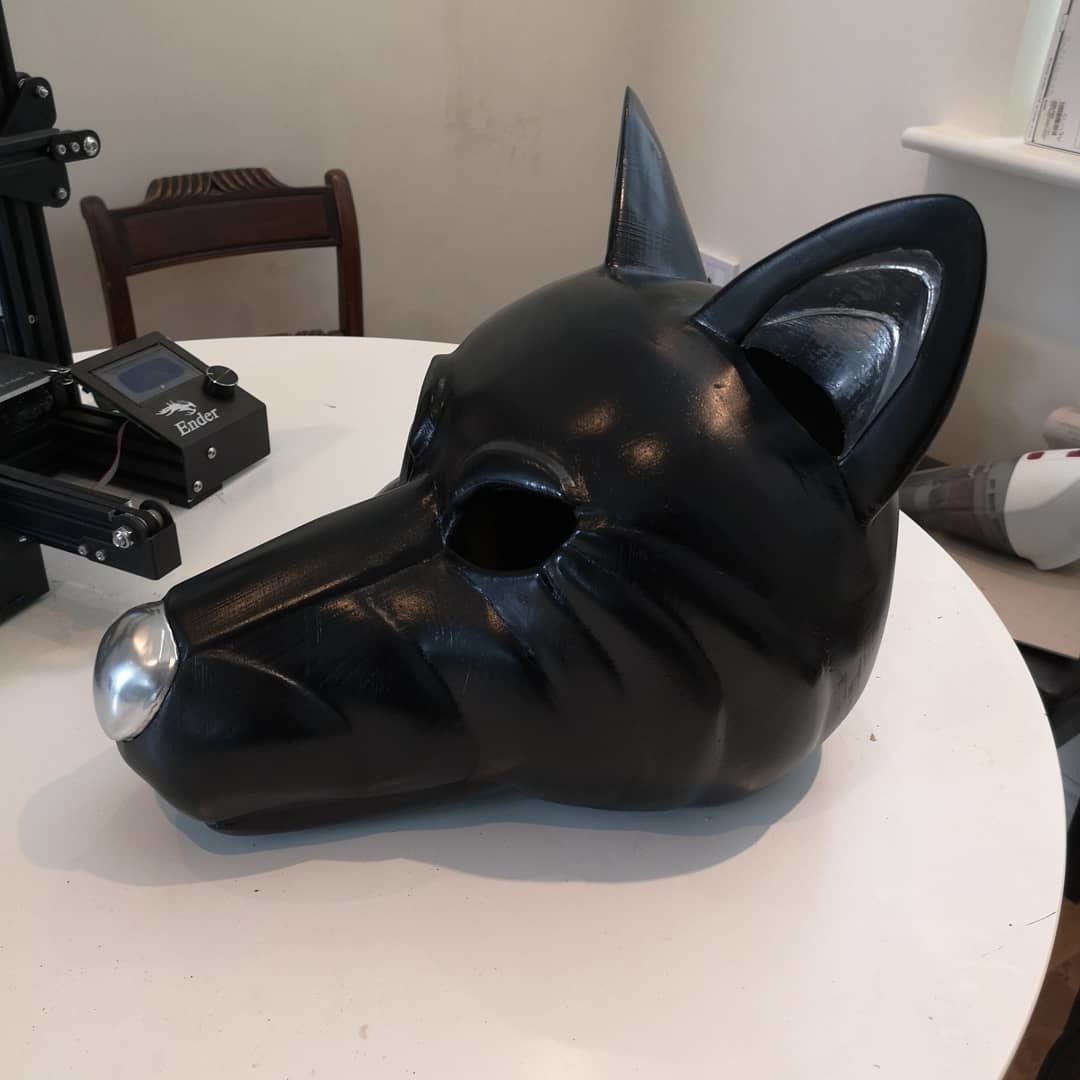
I ship it off to Tapewolf. He adds a voice modulator, fans (there's vents underneath the muzzle for air circulation), and EL panels to the eyes which decrease visiblity but make the whole thing look a hell of a lot cooler. He also knew how to accessorise, matching it with the right outfit, paintball gloves, and a tail (hastily made from a pond filter hose and the lid from a bottle of laundry conditioner).
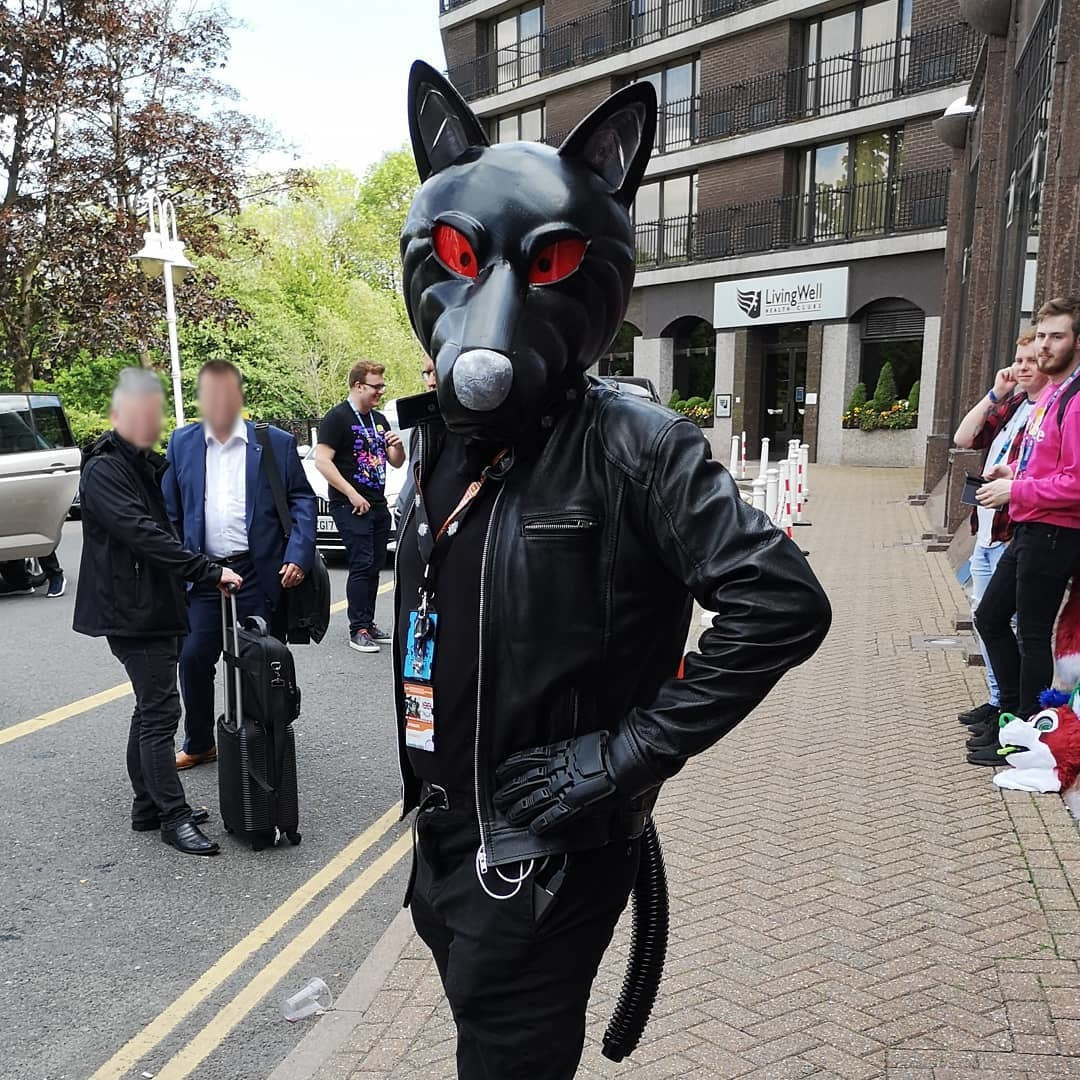
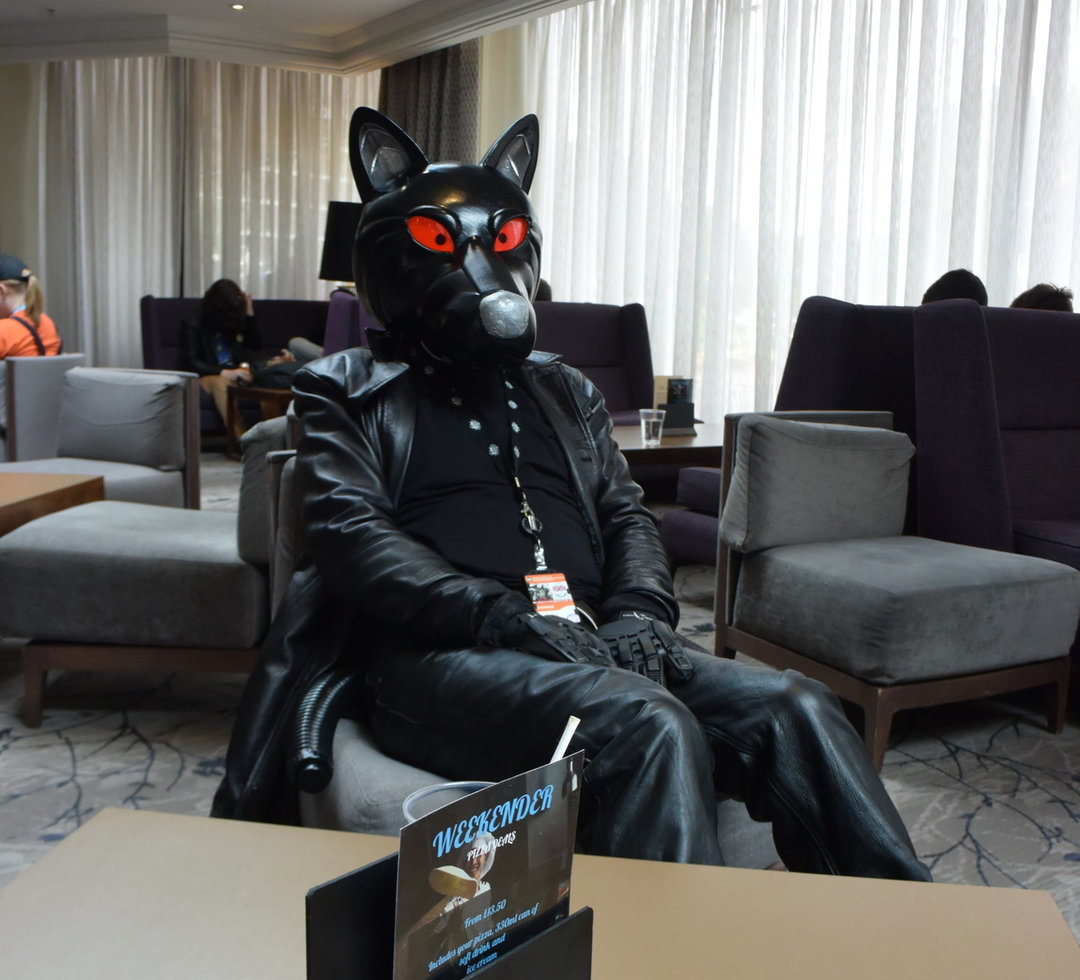
Looking good R-ALF!
